How to Make Custom Jewellery at Home in Australia?
Custom jewellery has become more popular because many buyers no longer want pieces that look exactly like everything in a shop window. They want a ring, necklace, or bracelet that carries some personal meaning, whether that means a birthstone, a hand-stamped name, a particular metal finish, or a design linked to a memory. Traditional jewellery making usually begins with standard patterns and repeated forms. Home-made custom jewellery works in a different way. It starts with the wearer, their taste, their budget, and the small details that make a piece feel like their own.
How home jewellery making differs from traditional methods?
Traditional jewellery making is usually workshop-based. It often involves formal bench tools, casting equipment, polishing machines, and years of technical training. A professional jeweller may work with wax models, stone setting microscopes, rolling mills, and strict finishing standards.
At home, the process is simpler and more selective.
- You choose designs that fit your space and skill level.
- You work with small batches rather than production runs.
- You can begin with low-heat or no-heat methods.
- You learn by making practical, wearable pieces rather than mastering every advanced method at once.
That makes home jewellery making more approachable. It does not reduce the value of traditional craftsmanship. It simply opens a smaller door into the same world.
Choosing the right type of jewellery to start with
Beginners often make better progress when they start with designs that do not require a torch or advanced metalwork.
Good first projects include:
- Beaded bracelets
- Charm necklaces
- Wire-wrapped pendants
- Elastic gemstone bracelets
- Hand-stamped aluminium or silver-plated tags
- Earrings made from hooks, jump rings, and simple drops
These projects teach the basics of measurement, balance, fastening, and finishing. They also help you understand what customers notice first, such as comfort, neat loops, secure clasps, and a clean overall shape.
If you want to work with custom designs from the beginning, start with one variable at a time. For example, keep the chain standard but customise the pendant. Or use a simple ring base and focus on the stone, engraving, or texture.
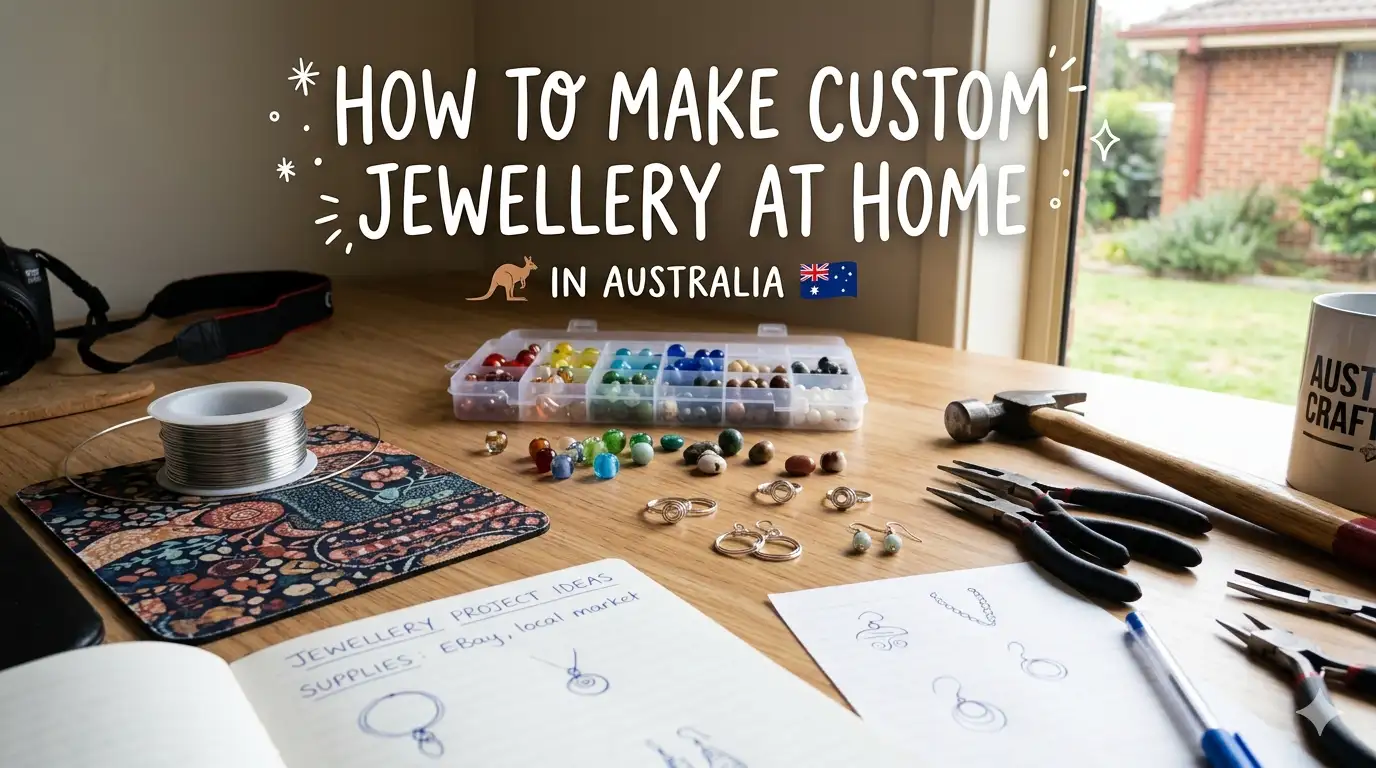
Tools and materials you will need
You do not need a full studio to begin. A small table, good light, and careful storage are enough for basic work.
A sensible beginner kit may include:
- Round-nose pliers
- Flat-nose pliers
- Wire cutters
- Jump rings
- Clasps and earring hooks
- Beading wire or jewellery wire
- Measuring tape or ruler
- Metal blanks or pendant bases
- Beads, charms, or cabochons
- Glue suitable for jewellery use
- Storage trays or small compartment boxes
For metal choices, beginners often start with stainless steel, brass, copper, silver-plated findings, or sterling silver. Sterling silver costs more, but it is easier to market as a lasting material and usually feels more worthwhile to the buyer.
Step-by-step process for making custom jewellery at home
A simple method keeps mistakes down and helps the work look more professional.
1. Start with the design
Draw the piece on paper. It does not need to be beautiful. It only needs to show size, shape, materials, and where each part connects.
2. Set a small budget
Decide how much you want to spend before buying supplies. This helps you avoid wasting money on stones, chains, or tools that do not fit your project.
3. Choose materials carefully
Pick materials that suit the wearer. For daily wear, lighter and stronger pieces often work better than ornate designs that snag on clothing.
4. Make a sample first
Before creating the final version, make one trial piece. This helps you check proportion, weight, and fastening.
5. Assemble with patience
Work slowly. Close jump rings neatly. Keep lengths even. Trim wire ends cleanly. These small points affect the finished look more than beginners expect.
6. Test the piece
Wear it or ask someone else to try it. Check comfort, movement, and closure strength.
7. Finish and store properly
Wipe fingerprints off metal, place the piece in a soft pouch or box, and keep it away from moisture.
Safety and practical advice in Australia
If you are making jewellery at home in Australia, climate and storage matter more than many beginners realise. Humidity, heat, and dust can affect glue, plating, metal colour, and resin curing. Keep your materials in sealed containers and avoid working in poor ventilation, especially if you use adhesives, resin, or polishing compounds.
It is also wise to label materials honestly. If a piece is silver-plated, say so. If a stone is synthetic, do not present it as natural. Clear material descriptions protect trust and help buyers care for the piece correctly.
Common mistakes to avoid
Many home makers lose confidence because of a few avoidable errors.
- Buying too many supplies before learning the basics
- Choosing weak clasps or thin rings
- Using heavy pendants on delicate chains
- Ignoring skin sensitivity to certain metals
- Copying complex designs too early
- Forgetting that neat finishing matters as much as design
Simple work done well usually looks better than ambitious work done in a hurry.
Conclusion
Making custom jewellery at home in Australia is both practical and rewarding. It gives ordinary people a way to create pieces with real character, keep spending under control, and learn a craft that still has lasting value. The strongest pieces are rarely the most complicated. They are the ones made with care, sound materials, and a clear sense of who will wear them. For beginners, the best approach is modest. Start with one design, one set of tools, and one reliable material. Learn how the parts fit together, how the piece sits on the body, and how to finish it properly. Once those habits are in place, custom jewellery stops feeling like a distant trade and starts becoming a skill you can build at home, one piece at a time.